Welcome to part 5 of the model making of the french fishing boat “La Provencale”.
The longest parts of this construction phase was the attaching the mainsail to the mast, installing the headsail and building the paddles.
Remarks on these construction phases
As with the masts and spars before, I also stained the oar spars twice to achieve a darker shade.
As already mentioned in previous videos of this series, working with ropes was once again a challenge for me.
When two ropes are dangling loosely like with the anchor, it’s very difficult to wrap one around the other. Therefore, I used a crocodile clamp to tighten one of the ropes.
Further remarks
Also this time with handling the sails I secured all sorts of knots, etc., with superglue.
To counteract the natural fraying of the ropes, I pulled each rope completely over a real beeswax candle like last time. This causes the protruding fibers to be “glued” to the rope. If this weren’t done and these frayed edges were scaled up to the actual size of the boat, the real rope would be very “prickly”.
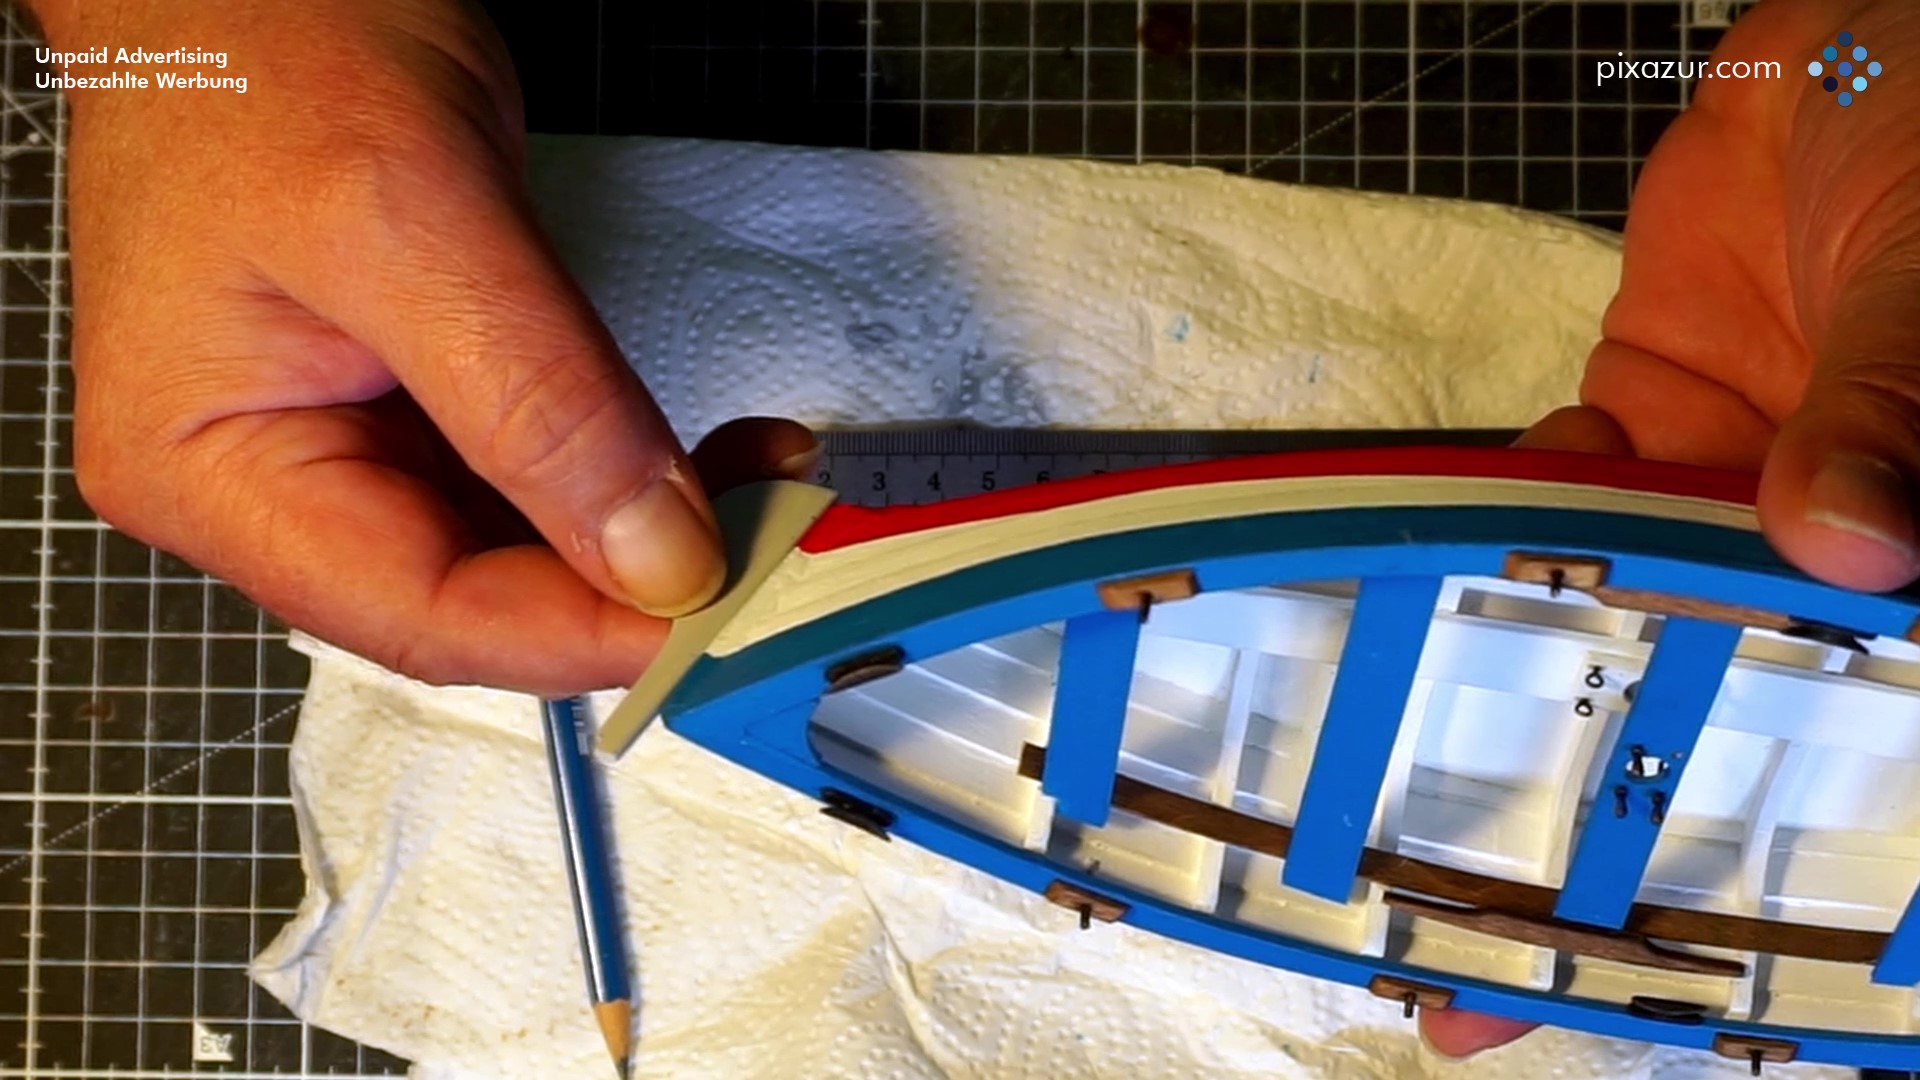
In comparison to the actual product, the included paddle blades were much too thick. I had used a belt sander with coarse grit to sand them down. This was a mistake, because firstly, the grit created small grooves on the paddle blades, and secondly, the heat caused the blades to warp.
I will document the model making of the “La Provencale” part 5 also in a gallery and on video and show the work steps in detail.
Part 5 covers the following topics:
– Attaching the main sail to the mast
– Fastening the tack of the sail to the bow
– Attaching the clew to a cleat aft
– Installation of additional tackle
– Assembly of the headsail
– Assembling the rowing paddles
– Finishing the anchor
– Attaching the shafts of the belt rods
– Painting the belt rods
– Attaching the paddle cuff
– Attaching the paddles
– Gluing the fish baskets
Part 1 of this project you can find here, part 2 here, part 3 here and part 4 here.